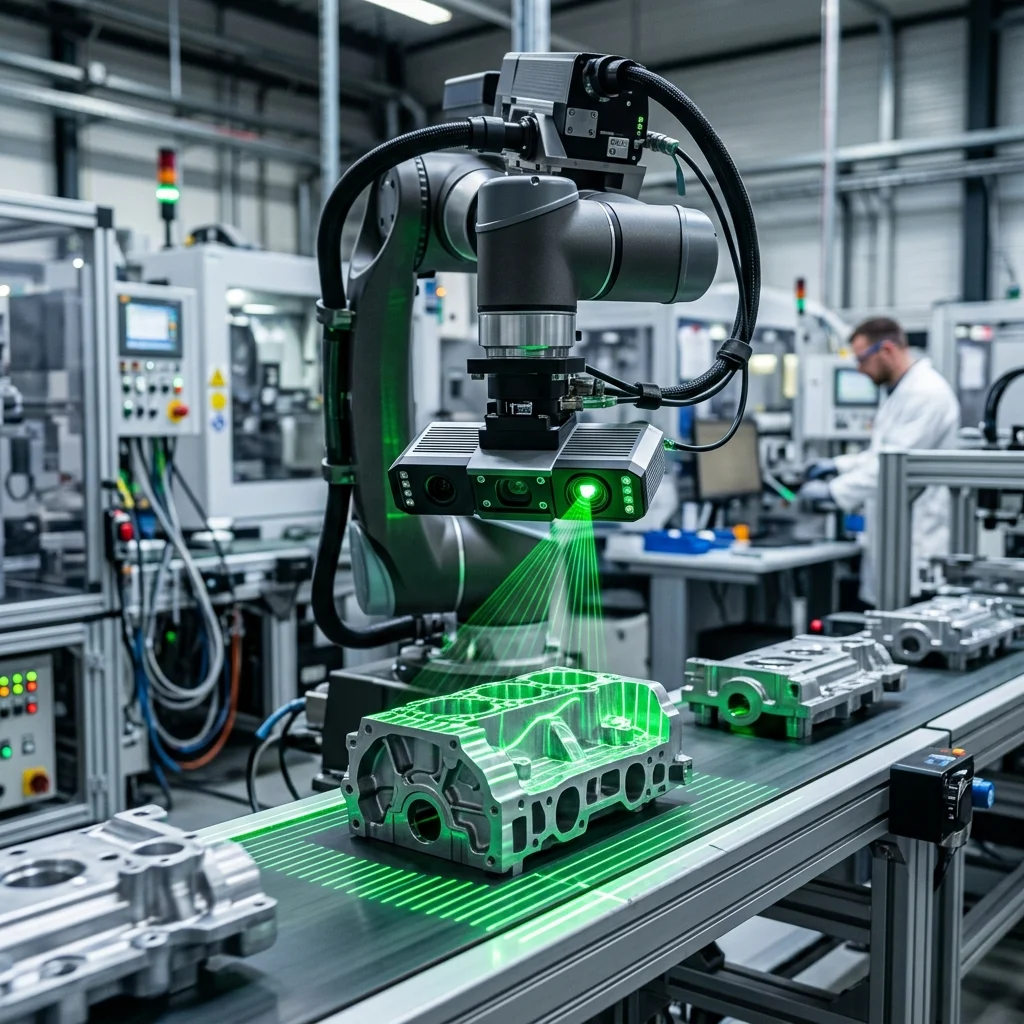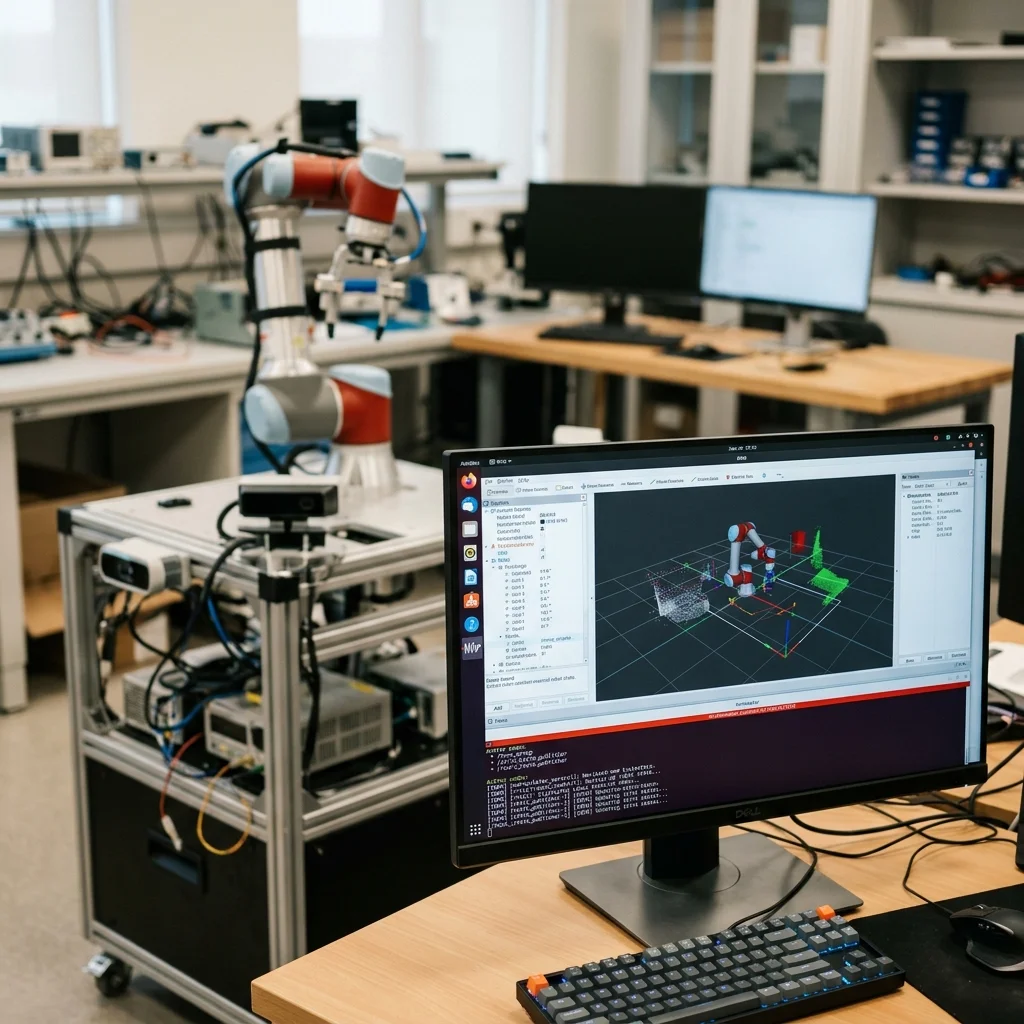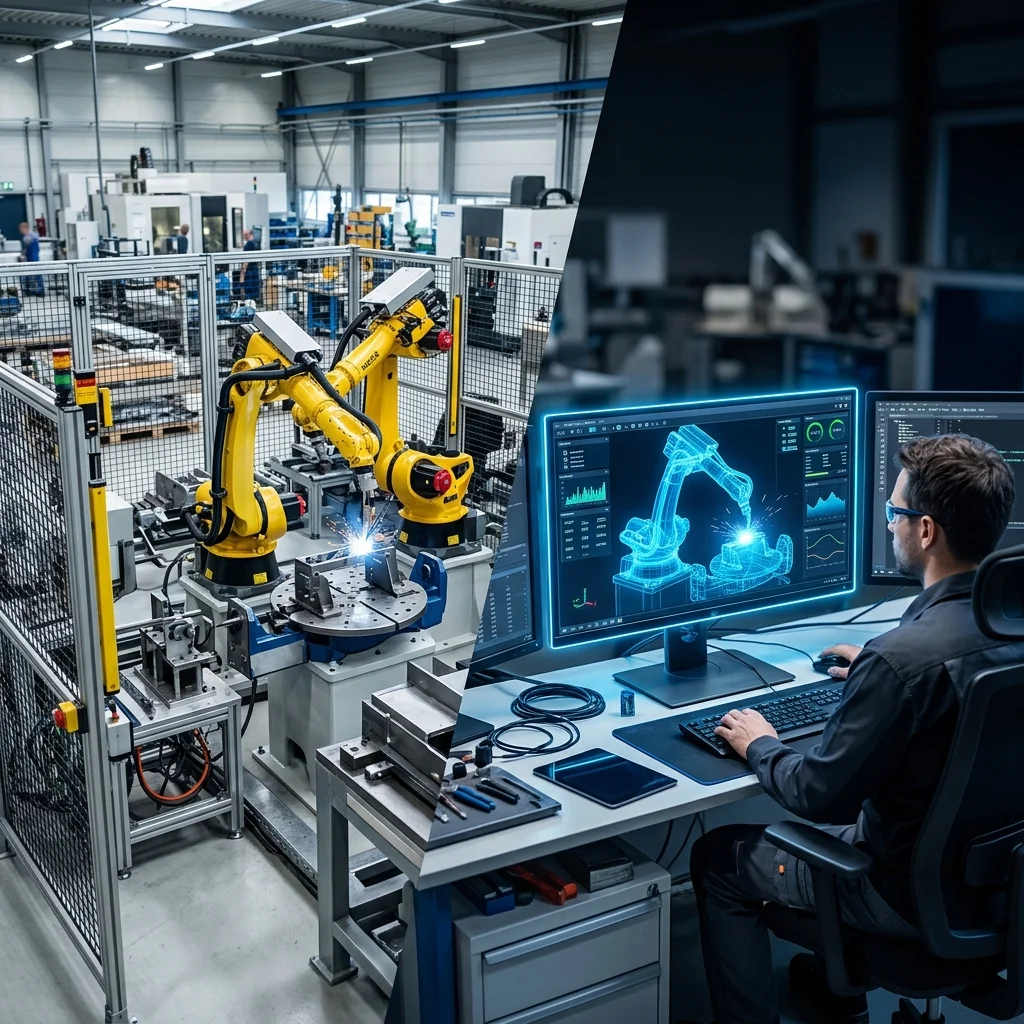
Bringing a robotic cell from the design stage to full production requires a structured commissioning protocol to ensure safety, reliability, and accuracy. The process begins with offline simulation to verify reachability and cycle times, followed by physical installation, electrical handshake integration, and safety circuit verification. A formal Factory Acceptance Test (FAT) and Site Acceptance Test (SAT) must be completed before the system is signed off for continuous production.
Pre-installation and Offline Simulation Verification
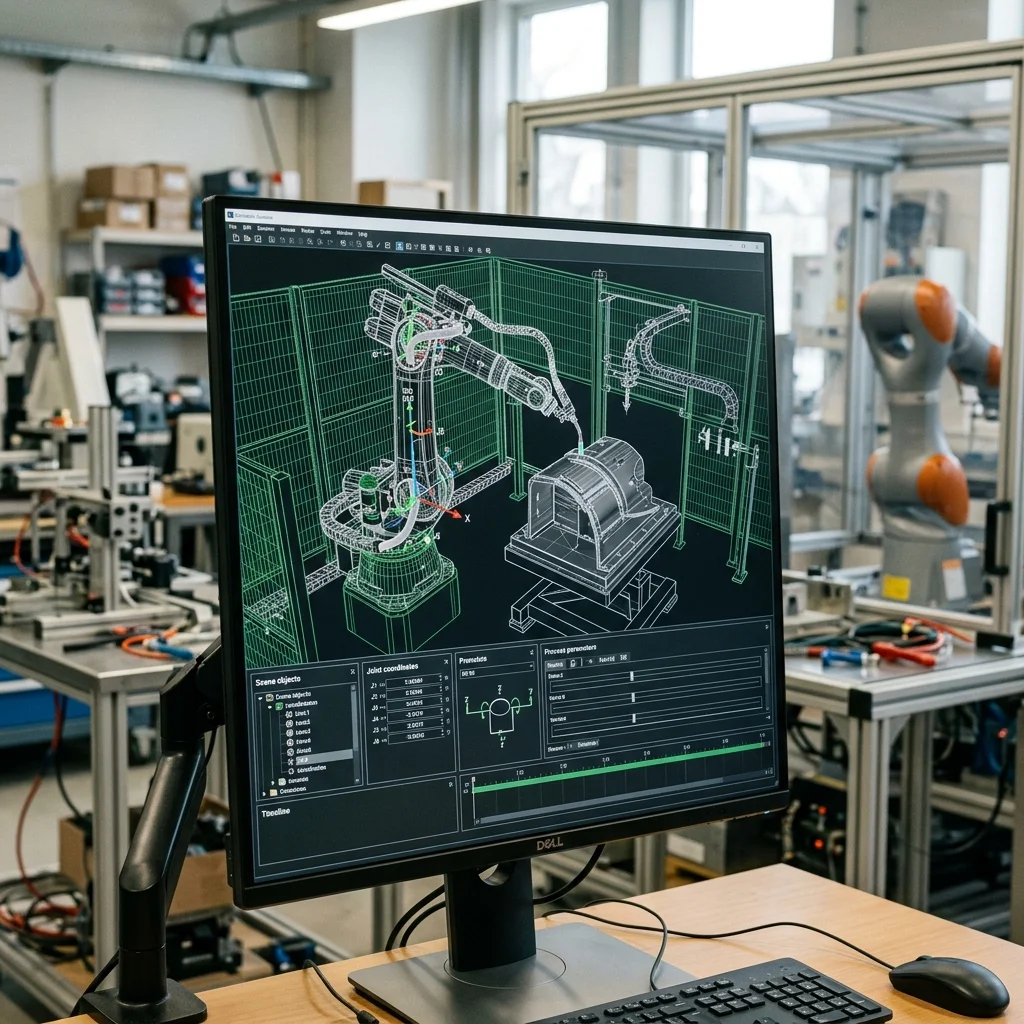
The commissioning process starts weeks before the physical robot arrives on the shop floor. In the design phase, engineers use offline programming (OLP) and simulation software (such as RobotStudio, RoboGuide, or Delmia) to build a digital twin of the cell. This virtual testing environment allows engineers to identify errors before metal is cut.
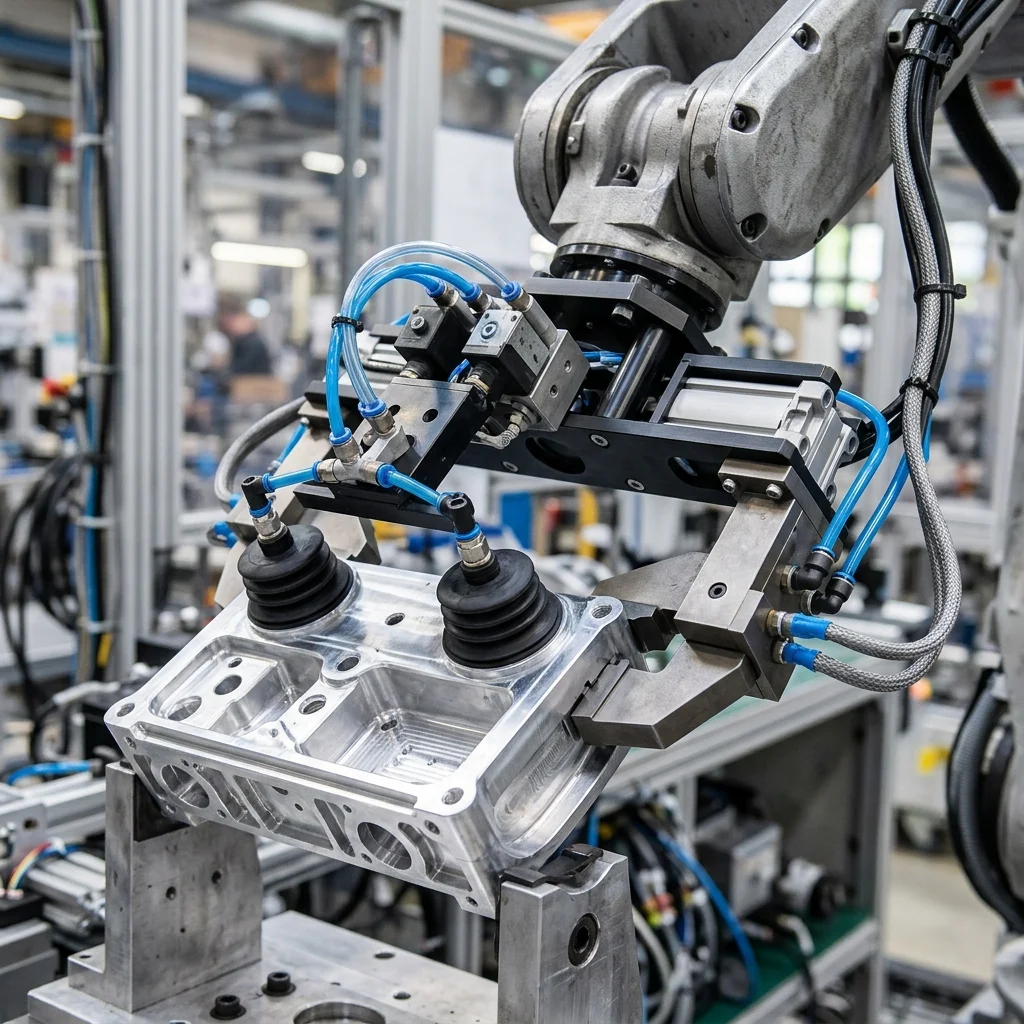
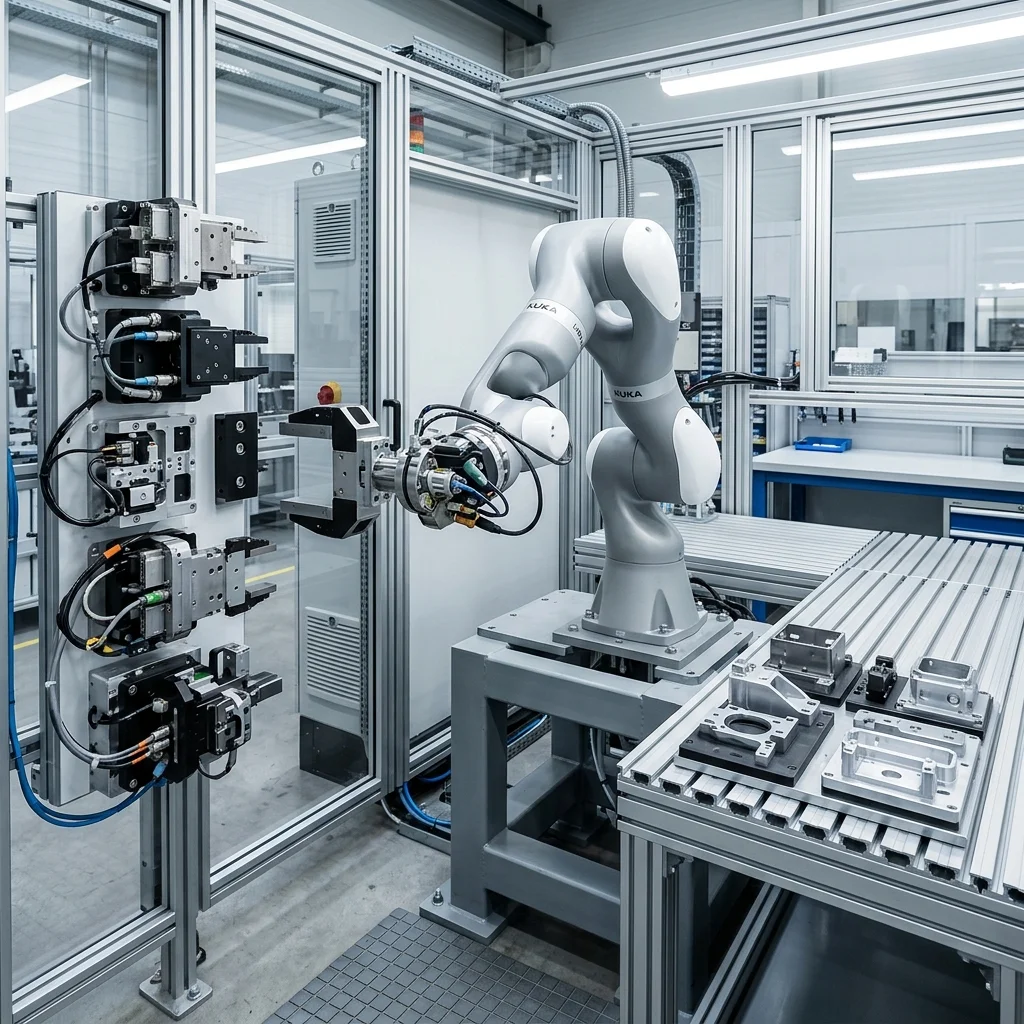
This simulation is used to verify that the robot can reach all target positions without violating joint limits or experiencing collisions. It is critical to model the end-of-arm tool and the workpieces accurately, as minor changes in gripper geometry can lead to clearance issues. The simulation must also confirm that the cycle time requirements can be met without running the robot's motors at 100% duty cycle, which would shorten their operational life.
Furthermore, simulation helps determine the exact placement of safety fences and scanners. By visualizing the robot's maximum extension path, engineers can place safety barriers exactly where they are needed, optimizing the cell's footprint. Discovering a reach issue during simulation costs nothing, whereas fixing it on the factory floor can delay production by weeks.
Mechanical Anchor, Leveling, and Rigging
When the physical equipment arrives, correct rigging and mounting are vital to maintain path accuracy. The robot base must be bolted to a heavy steel pedestal or directly to a reinforced concrete floor. The mounting plate must be levelled to within the manufacturer's specification (typically ±0.5 degrees) to prevent gravity compensation errors in the robot's control algorithms.
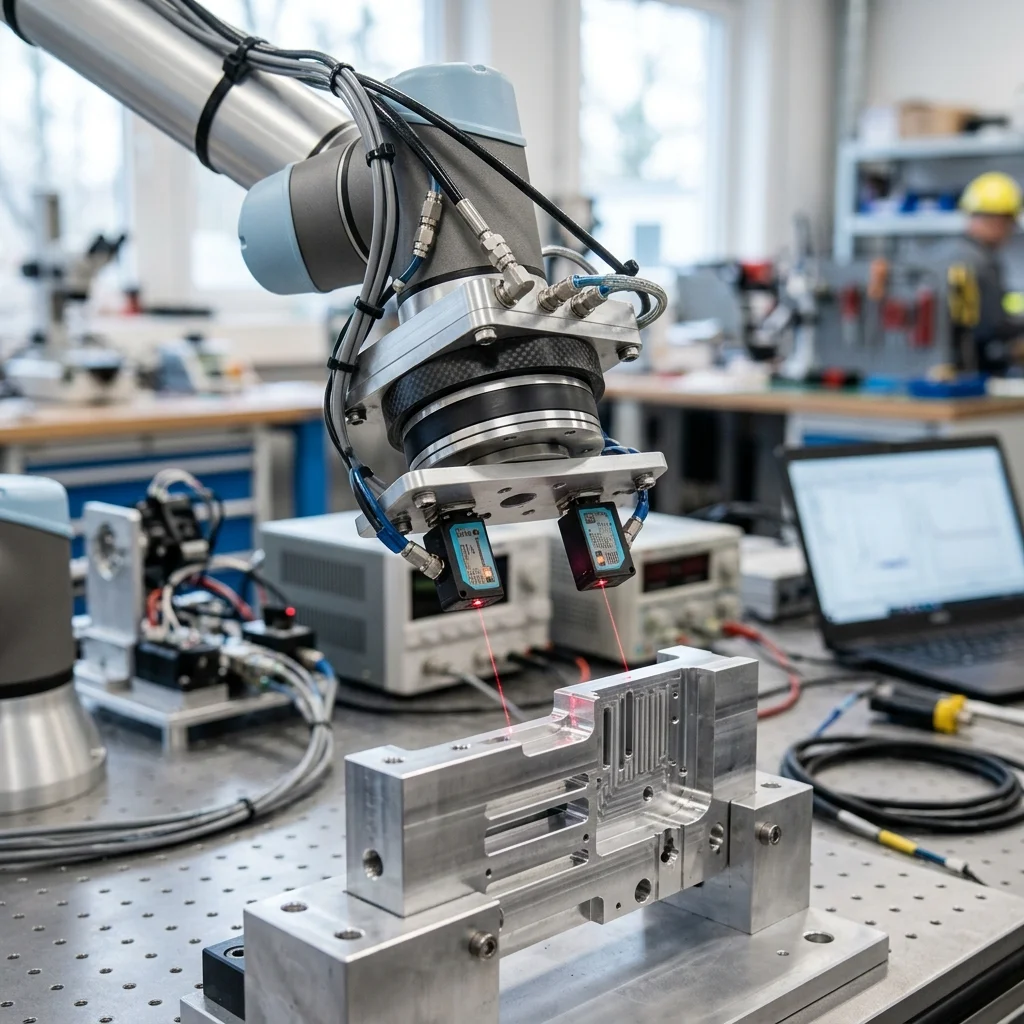
Once secured, the robot is powered up, and the mastering (zero-position calibration) of each joint is verified. If the robot is out of master by even a fraction of a degree, all programmed points will be offset, causing collisions or inaccurate assembly. The mechanical integrity of the frame and pedestal should be checked under maximum acceleration to ensure there is no flexing or vibration.
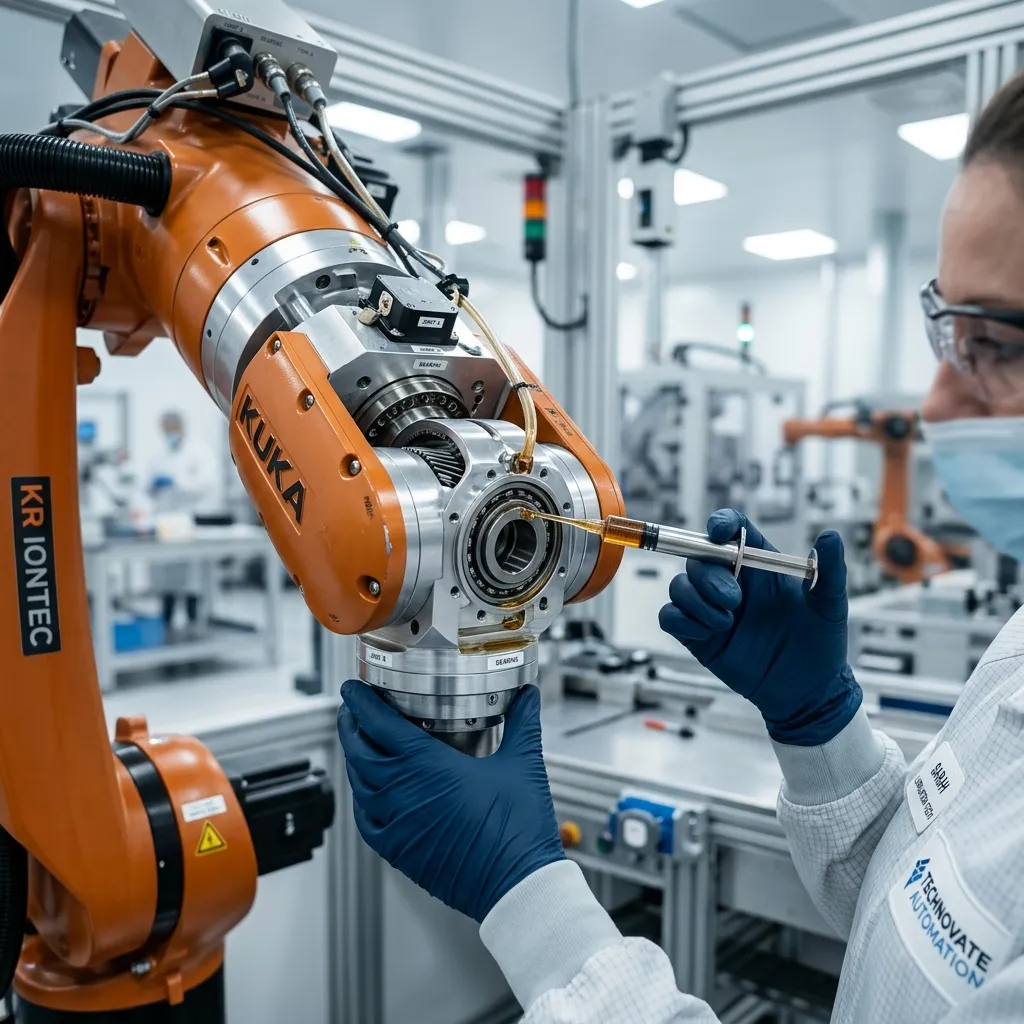
Vibrations during operation can lead to micro-cracks in the welds or bolts, which will slowly degrade the robot's repeatability. Tightening all structural fasteners to the correct torque specification is mandatory. Additionally, the robot's internal gearboxes must be checked for oil levels before the first motion is initiated, preventing dry wear on the precision gears.
Electrical Handshakes and Fieldbus Communication
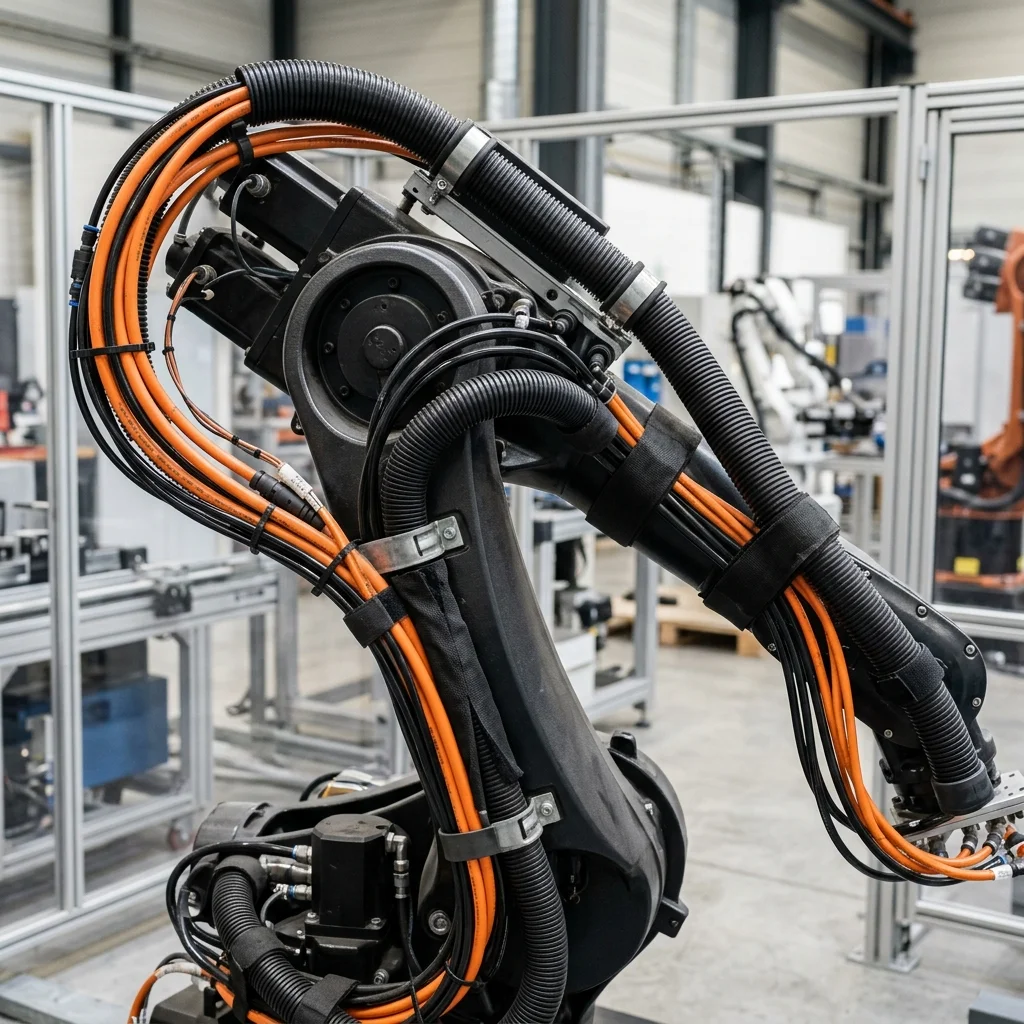
A robotic cell does not operate in isolation; it must communicate with upstream and downstream conveyors, PLC controllers, and safety circuits. The commissioning team must establish reliable communication over industrial protocols like Profinet, EtherNet/IP, or DeviceNet. Cable routing must be clean and separated from high-voltage lines to prevent noise interference.
Every input and output (I/O) point must be mapped and tested. The electrical team must verify the handshake signals between the robot controller and the main cell PLC. For example, the robot must signal 'At Home' before a conveyor index cycle, and the conveyor must signal 'Part Present' before the robot initiates its pickup routine. Clear communication prevent sequencing errors.
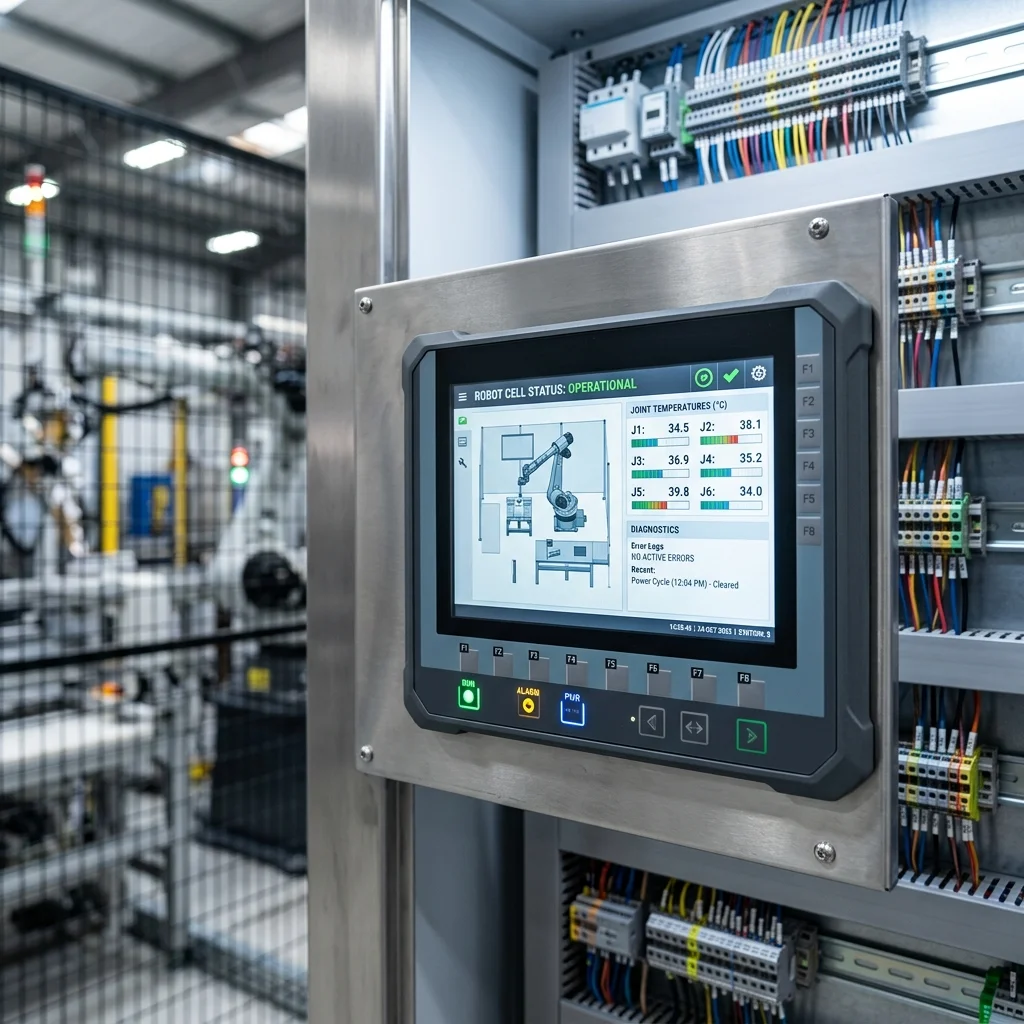
Diagnostics and error-handling routines should also be programmed. If a sensor fails on a gripper, the robot must stop and report the specific error code to the HMI screen, allowing maintenance technicians to quickly identify the issue. Without this digital feedback, troubleshooting a stopped cell becomes a time-consuming guessing game.
Safety Circuit Verification and Interlocking
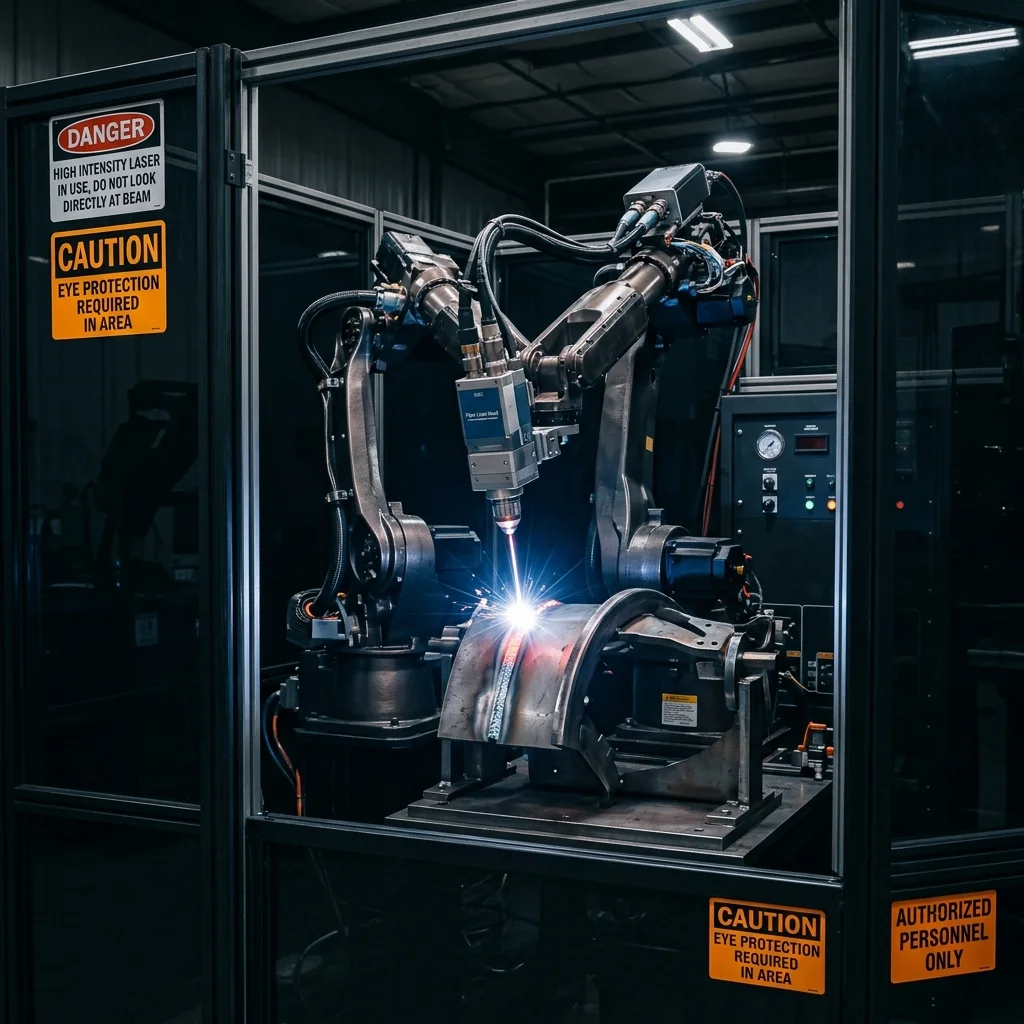
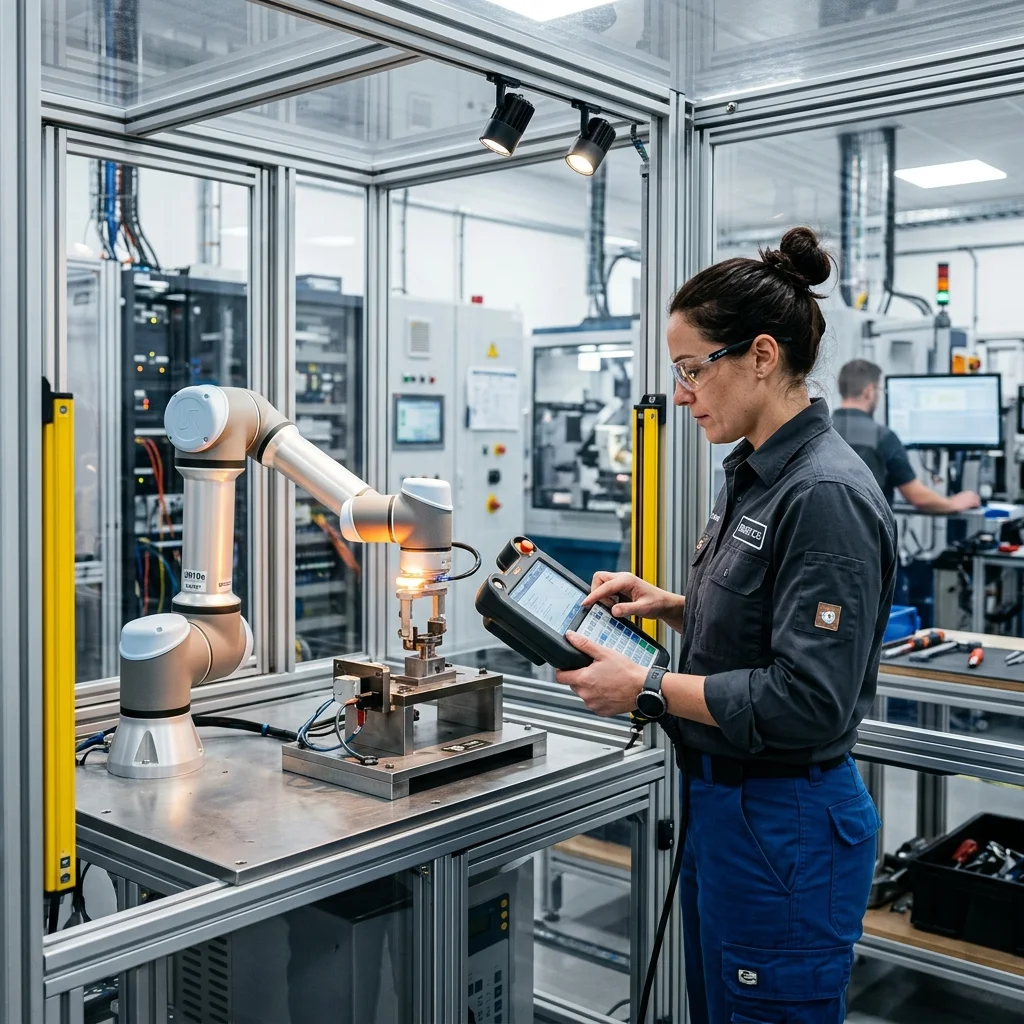
No robot should move in automatic mode until the safety circuit has been fully tested and validated. This is the most critical stage of commissioning. First, test every emergency stop button on the pendant, cell enclosure, and main panel to ensure they cut power to the robot's actuators. The safety controller must reliably disconnect power when triggered.
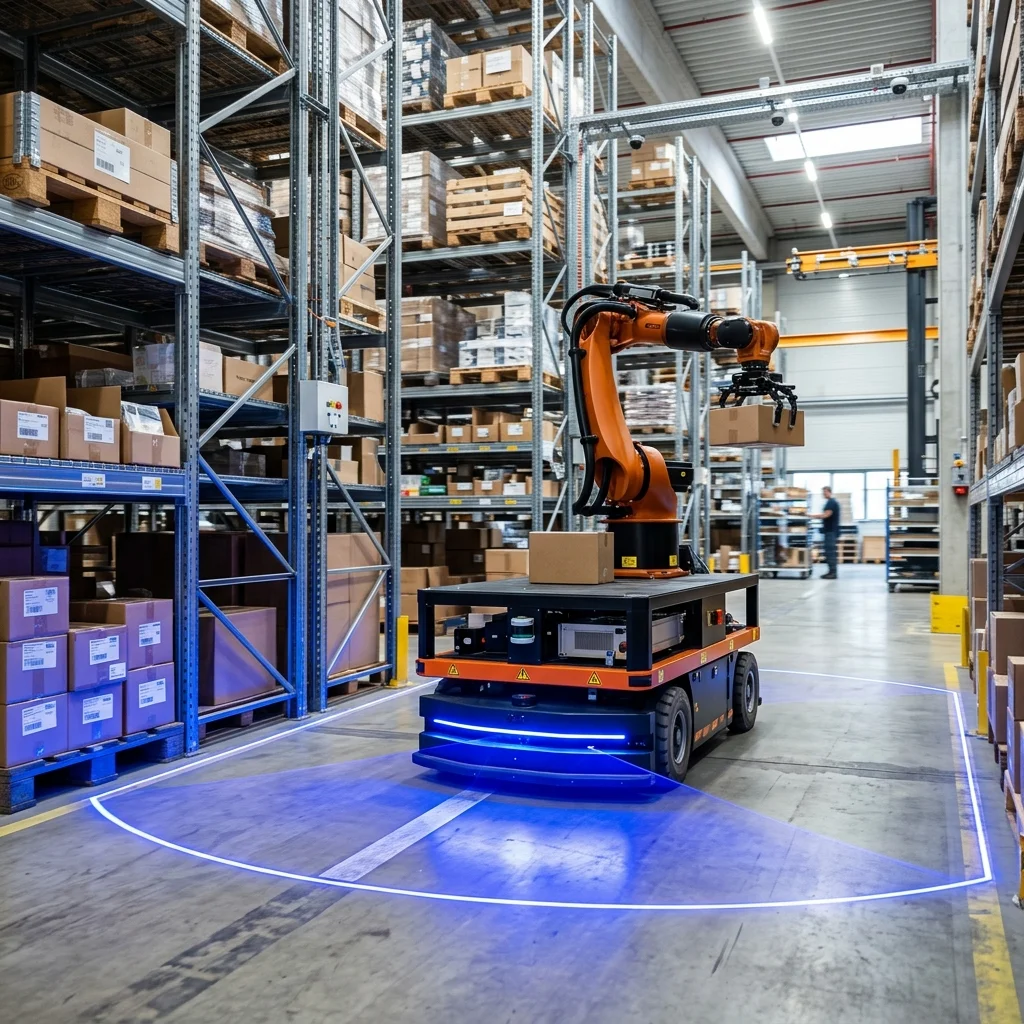
Second, open every safety gate during operation to verify that the safety relay trips immediately and brings the robot to a controlled stop. Third, configure and test the zones of laser scanners or light curtains, ensuring they slow the robot down when an operator approaches and stop it before a collision can occur. Safety zones must be validated with physical walk-tests.
Finally, establish and test the recovery sequence to safely jog the robot out of a restricted zone after a safety violation has occurred. Operators must be able to reset the cell safely without entering the danger zone. Proper labelling of safety devices and clear exit paths should be verified as part of the compliance documentation.
FAT, SAT, and Production Ramp-up
The final steps of commissioning are the Factory Acceptance Test (FAT) at the integrator's facility and the Site Acceptance Test (SAT) on your production floor. The FAT run involves operating the cell continuously for a set period (usually 4 to 8 hours) at the integrator's shop to catch mechanical or software bugs under controlled conditions.
The SAT run is performed after reassembling the cell on your floor. Running the same test verifies that the shipment did not affect system alignment. Once the SAT is signed off, the production ramp-up can begin. Start production at 50% speed for the first week, monitoring motor temperatures and wear patterns, before increasing to full production speeds.
Ensure all electrical schematics, software backups, robot program files, and risk assessment documents are archived and accessible to the maintenance team. Training sessions should be conducted for the shift operators, ensuring they can operate the cell safely and perform basic troubleshooting, cementing the success of the automation project.